Configuring a JMS queue in Weblogic
In SOA, many time we have to follow a decoupled architecture. In this architecture caller program and execution module are loosely connected. In Oracle SOA we have have multiple way to implement it.
1. Event based architecture.
2. Message based architecture
JMS or java message service, its a application programming interface define by SUN microsystem (now Oracle). Its support formal communication between the two systems over network. Its define messaging protocol and service to support JMS.
Weblogic in oracle soa suite has complete support of JSM, using topics and queue. In this blogs I am trying to explain how to create a queue.
Create JMS Server
1. Login to weblogic console and go to Service --> Messaging --> JMS Server and click on JSM server. It will show all the available JSM server with an option to create a new one.

2. If new button is not enabled, either you are not allowed to create a new JMS server, so you need more roles, ask your administrator to give you roles. Else you need to edit and lock the configurations. Its its enable click on New Button and it will open the screen like this. Give a name to new JMS server keep the scope global and click next.

3. Create Next and then click a new persistent store. for the server keep the same name, on next screen keep the name of the data source as it is and choose the target server as SOA server.

4. Click on finish your JSM server is ready, you can see the server in the list of already listed servers. Post that we need to create a JMS module and submodule.

Creating JMS Module
1. Click on Domain -> Service --> Messaging and JMS Module. Once you click it will show all available modules and a new button to create a new. Click on new button to create new.

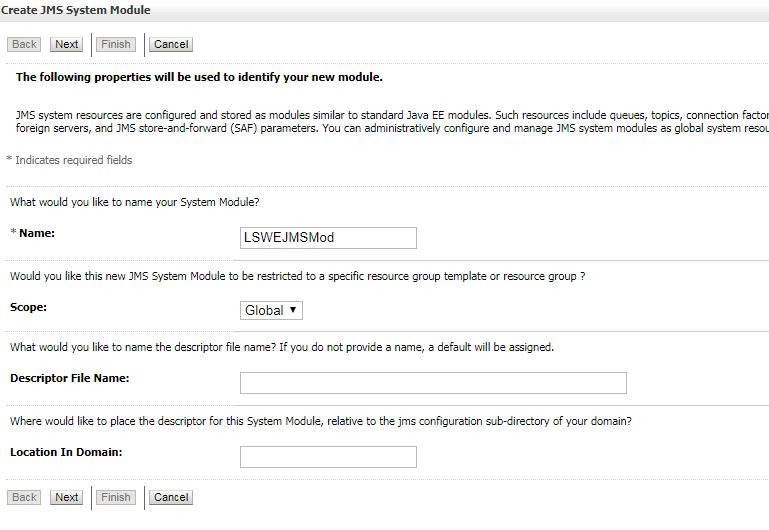
2. Now provide a name to module, test keep the default. Now click on next
3. Now select the Persistent store, select the same server name, once done select click next

4. In this select the SOA server and click on next, If you are using a single server machine, where Admin and SOA server is same select the Admin server and click next. Once done its finish and JMS module is available to use.

Creating JMS Module
1. Creating Connection Factory
1. Click on Domain -> servers -> Messaging -> JMS Module and open the JSM Module which we have created. Now click on the submodule and it will open up, with a table of Submodules. Now we will create one queue and connection factory. Steps are almost same. Fist click on New and select connection factory from the options to configure.

2. Provide the name of the of the connection factory and and JNDI Name and click next.

3. Create a new submodule with the name given in the list and select it.

4. Once done everything will be done finish it and connection factory will be created.
2. Creating JMS Queue
1.This has similar steps as connection factory but choose to create a new Queue. Click on New

2. Choose the option of queue in this screen and click next.

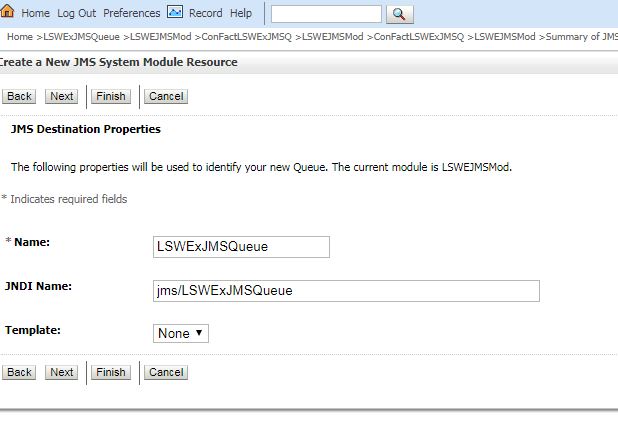
3. Give all the information as given in the screen, its queue name and JNDI name of the queue which will be used. click Next.
4. Now use the submodule you have already created.

5. Select the JMS server where you want to deploy this queue. This is the server which we made in this exercise..

Once Finish your JMS queue is ready to work. In next module we will create a simple application sending and listing message to this queue.